

Home office furniture explainer
How to Build a Home Office Furniture Setup That Fits
A room-first and task-first sequence for choosing furniture that works together instead of buying isolated pieces and hoping they fit.
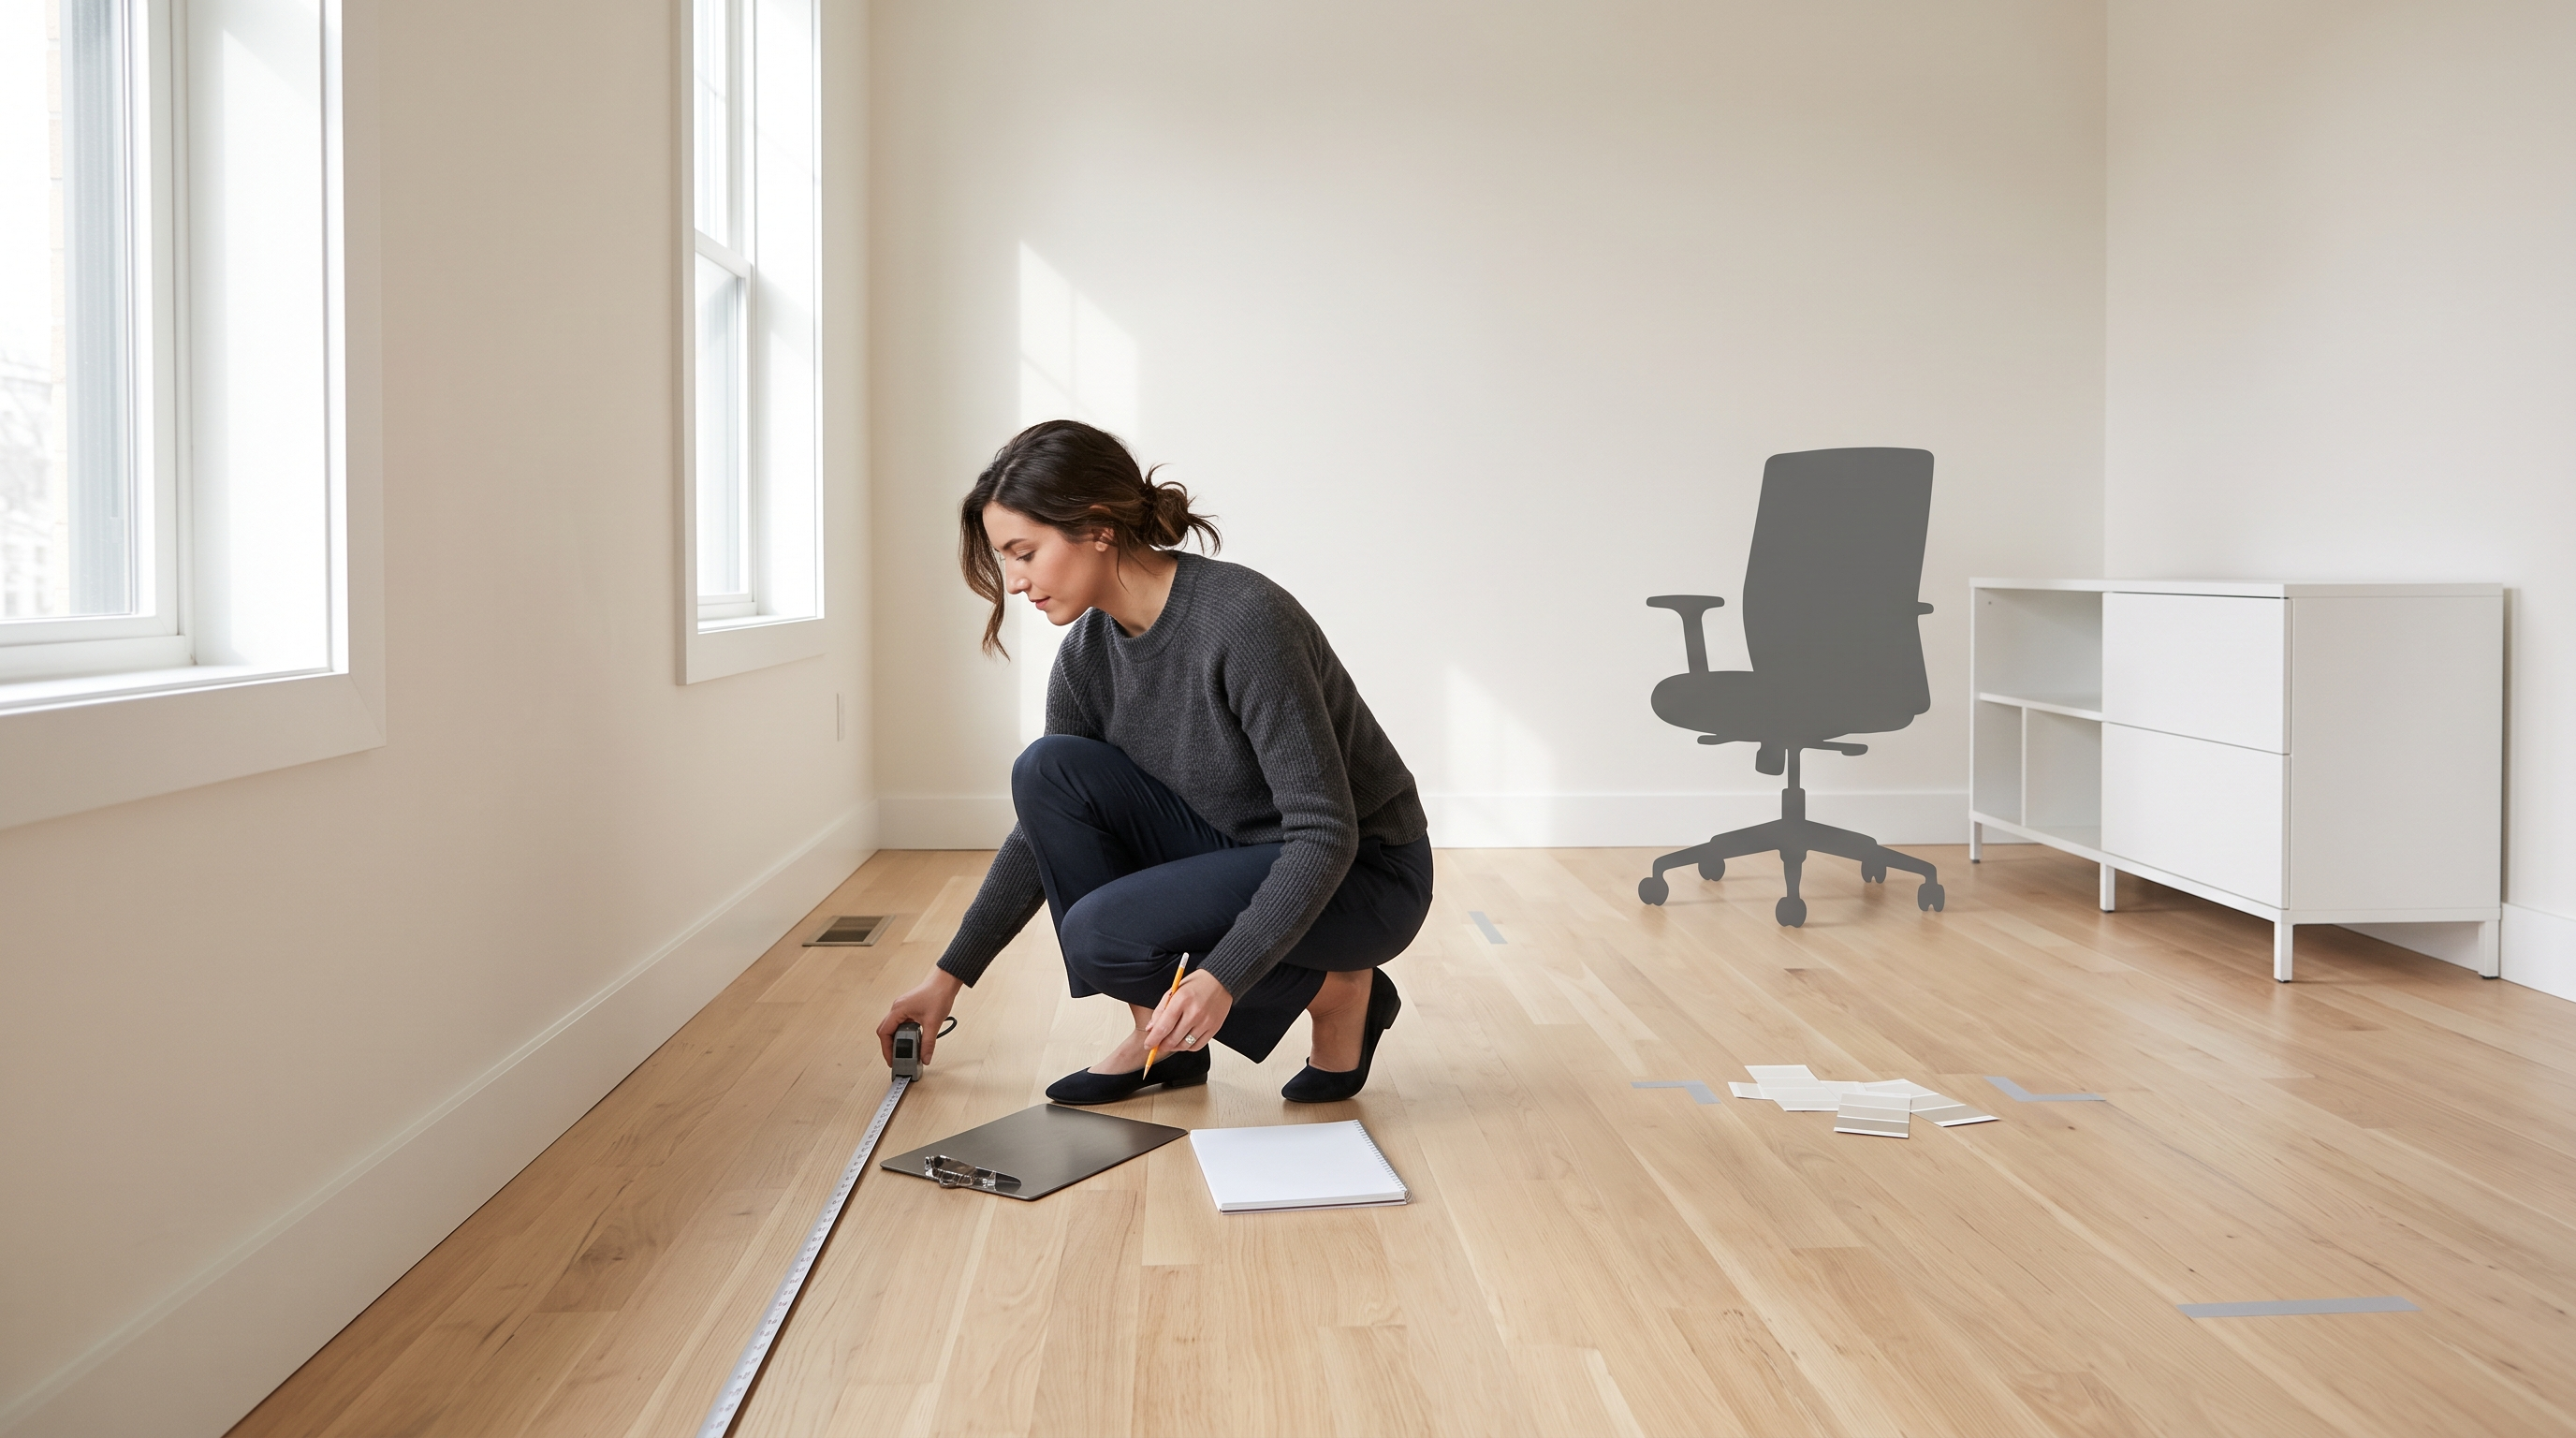
Short answer: Build a home office furniture setup in this order: list the work you perform, measure the usable room, fit the chair to the user, set the keyboard and work-surface relationship, place the screen and input devices, then add storage, lighting and cable routes. A matching desk and chair are not automatically a functional pair. The setup works only when dimensions, adjustability, clearances, reach, glare and daily tasks work together.
What a home office furniture setup really includes
A setup is a relationship among the worker, chair, desk or work surface, computer, lighting, storage and room. Each part changes the requirements of the others. A thick fixed desk can leave less thigh clearance. A chair with arms may not slide under a narrow opening. A large monitor can require more surface depth. A filing cabinet placed on the dominant-hand side can take the space needed for a mouse.
Start with the job. Count hours of computer work, paper handling, calls, video meetings, drawing, packing or client conversations. List the equipment that must stay on the surface and what can be stored. Note whether another person uses the room. This prevents an attractive furniture set from forcing the work into awkward reaches or constant resets.
AFBDECOR's live navigation separates home-office desks and office chairs. Those collections provide options to review, but this guide does not assume any listed item fits your body, equipment or room. Confirm current product dimensions, materials, adjustability, availability and policies on the product page before deciding.
Measure the room as usable space, not wall-to-wall space
Draw the room with doors, windows, radiators, vents, outlets, baseboards and fixed shelving. Record the door swing and the path from the entrance to the chair. Then measure the furniture footprint in both working and parked positions. A chair needs space to pull back and turn. Drawers and cabinet doors need opening clearance. A sit-stand surface, if considered, needs vertical clearance for screens, shelves and cables.
Use painter's tape or flattened cardboard to mark a proposed desktop and storage footprint. Sit where the chair would go. Check the view to the screen, window and door, and walk the route with the chair pulled out. This low-cost test exposes conflicts before delivery. In an apartment or shared room, also measure stairs, elevators, hall turns and the doorway through which the furniture must pass.
| Measure | Why it matters | Decision it informs |
|---|---|---|
| Usable wall and corner dimensions | Fixed trim, heat and doors reduce the real footprint | Desk shape and orientation |
| Chair working envelope | The chair moves beyond its base while entering and turning | Aisle and storage placement |
| Under-desk width, depth and height | Top dimensions do not reveal leg clearance | Chair-arm and user fit |
| Monitor and document depth | Equipment needs viewing and handling space | Work-surface depth |
| Outlet and cable path | Loose extensions can create clutter and hazards | Desk position and cable management |
Choose the chair, desk and screen as one system
1. Fit the chair to the primary user
Begin with seat height and depth, back support, arm position, base stability and the controls the user can actually operate. Feet should be supported and the chair should allow the user to approach the work surface. A feature list is less useful than a seated fit test. If buying online, compare the published adjustment ranges with the user and preserve the return terms.
2. Match the work surface to the seated position
With shoulders relaxed, the keyboard and pointing device should be positioned so the user is not repeatedly reaching or lifting the shoulders. The desk needs enough under-surface clearance for legs and chair components. The Occupational Safety and Health Administration's workstation evaluation checklist evaluates the chair, surface, keyboard and monitor together rather than treating furniture as independent purchases.
3. Place screens and input devices
Leave enough depth to position the primary monitor directly in front of the user at a readable distance. A laptop used as the main computer may need a separate keyboard and input device so the screen and hands can be positioned independently. Multiple screens require enough width without forcing constant neck rotation. Test the setup with the real equipment before adding decorative objects.
4. Add storage after the reach zones are clear
Put items used many times per day within easy reach, occasional materials farther away, and archives outside the active workstation. Storage should not occupy knee space, trap cables or force repeated twisting. A bookshelf can also affect light and camera background, so place it after the main working geometry is stable.
Build four task zones around the work
- Primary work zone: keyboard, pointing device, primary screen and the small set of tools used continuously.
- Reference zone: notebook, documents, phone or a holder placed so reading does not require repeated twisting.
- Communication zone: camera, microphone, background and lighting for calls, with confidential material outside the frame.
- Storage and reset zone: supplies, charging, paper and waste positioned so the primary surface can be reset at the end of a session.
Lighting belongs to the task, too. Screen work and paper work can need different light placement. OSHA's workstation environment guidance recommends arranging offices to minimize glare and using appropriate task lighting and air circulation. Position the screen at right angles to a bright window when that helps control reflection; do not choose a desk direction solely because it photographs well.
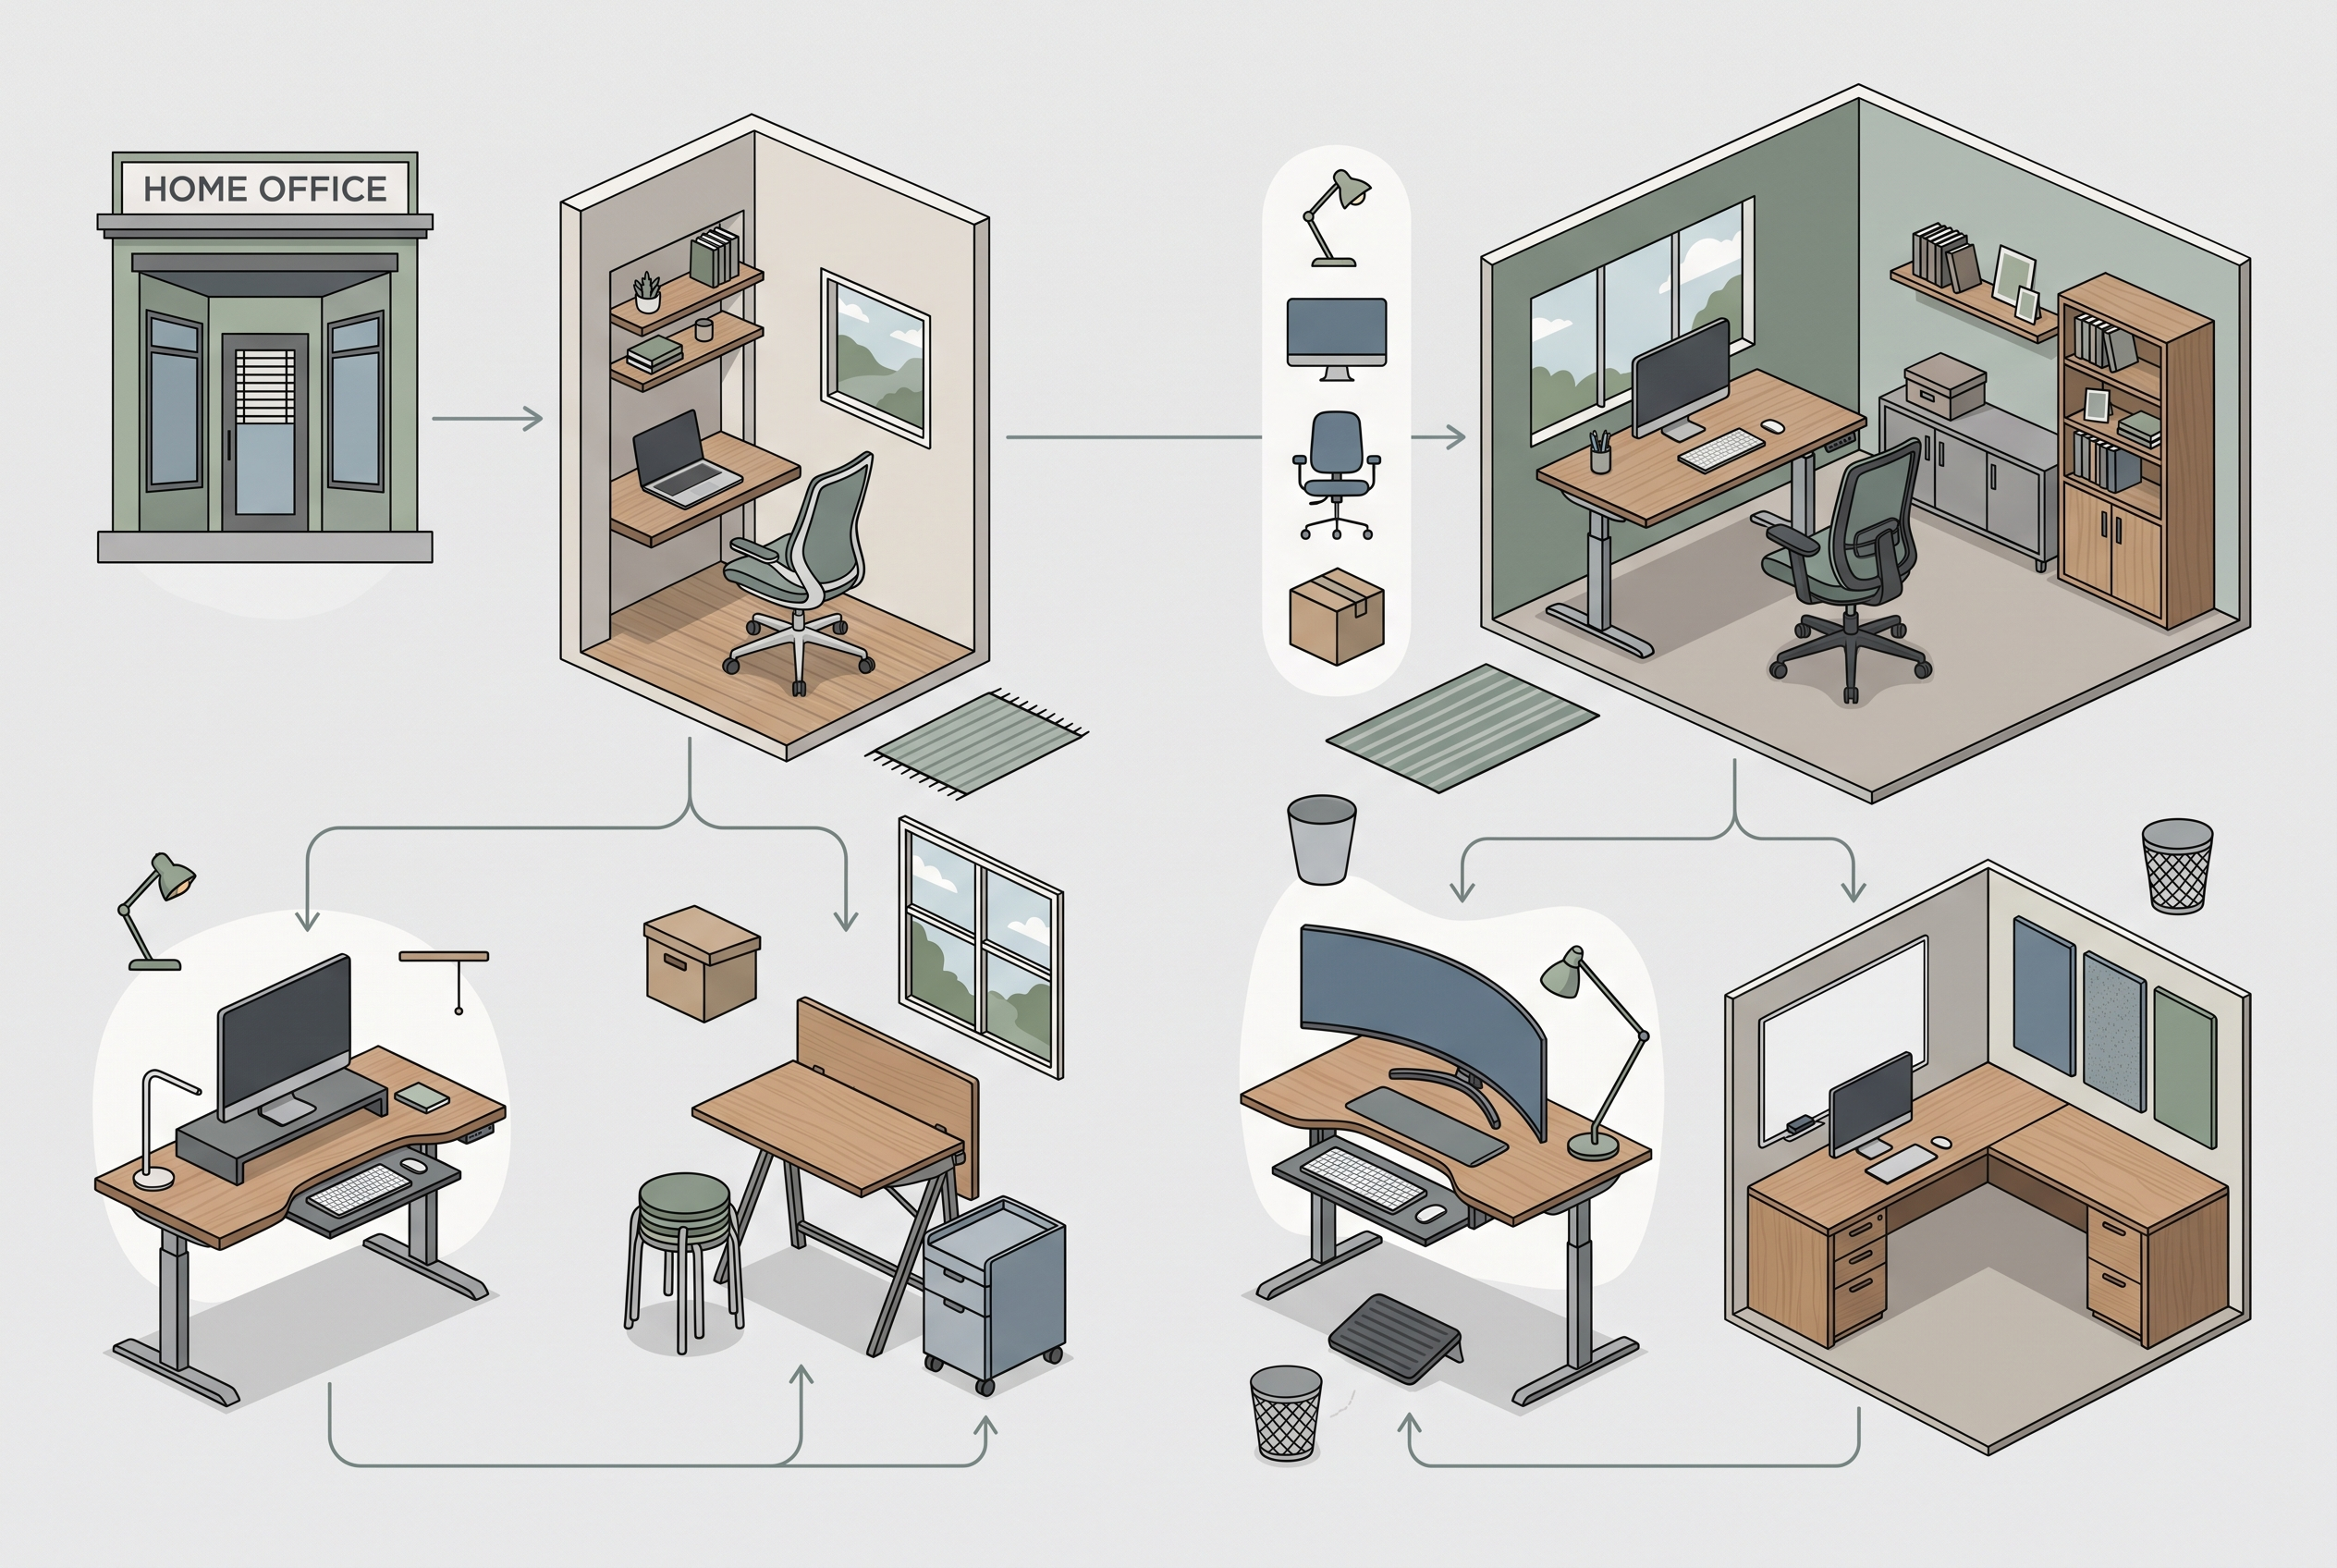
How the sequence changes in common room scenarios
A shallow spare-room wall
Prioritize the work-surface depth needed for the monitor and keyboard before adding a hutch. Consider storage that does not project into the chair path. A small desk that forces the screen too close is not space-efficient; it transfers the space problem to the user.
A bedroom office
Define a visual end to the workday. Closed storage or a movable screen may matter more than a large desk. Preserve access to closets and beds, and avoid routing cables through walking paths. Do not block heating, cooling or egress.
A video-first office
Test the camera view, face lighting and microphone position at the proposed desk. Avoid a window directly behind the user unless exposure can be controlled. Store confidential documents outside the camera view and confirm that shelves are secured appropriately.
A shared or rotating workstation
Adjustability becomes more valuable. Record a reset procedure for chair height, screen position and frequently used equipment. One fixed arrangement rarely fits users with different bodies or tasks; OSHA likewise notes that no single correct arrangement fits everyone.
Common furniture setup mistakes to avoid
- Buying the desk first and discovering the chair arms or legs do not fit underneath.
- Using desktop dimensions as a substitute for checking knee and thigh clearance.
- Choosing a chair from appearance alone without confirming adjustment ranges and return terms.
- Placing storage where the mouse, chair or door needs to move.
- Ignoring cable length, outlet capacity and routes until after assembly.
- Mounting shelves before confirming screen height and sit-stand movement.
- Copying a showroom layout without accounting for the real work and room.
- Claiming an “ergonomic” label proves the furniture fits every user.
Use this worksheet before placing an order
- Write the three tasks that consume the most time.
- List every item that must remain on the desk.
- Record the usable room, delivery-route and under-desk measurements.
- Record the chair adjustments the primary user needs.
- Draw the working envelope for chair, drawers and doors.
- Mark outlets, windows, vents and the intended cable route.
- Test a taped furniture footprint and a normal work session.
- Compare product specifications against the sheet, not against memory.
- Confirm delivery, assembly, return and current stock details directly.
OSHA also publishes a computer workstation purchasing guide that covers monitor, desk, input-device and lighting questions. It is guidance rather than a product endorsement, and individual needs may require a qualified ergonomic or health professional.
Frequently asked questions
Should I buy the chair or desk first?
Define them together, but fit the chair to the primary user before locking desk height and under-surface clearance. The correct sequence prevents the work surface from dictating an unsuitable seated position.
How much space should I leave behind the chair?
There is no universal number for every chair and room. Measure the actual chair in its pulled-back and turning positions and preserve the necessary circulation route.
Can a dining table work as a desk?
It may support a temporary task, but check work-surface height, depth, edge, leg clearance and the relationship to the chair and equipment. Furniture names do not determine fit.
Do I need a sit-stand desk?
Not automatically. It must fit the user, equipment, floor space and cable plan, and the movement mechanism must be usable. Variation can also come from task changes and breaks.
Choose the next piece with your measurements in hand
Use the worksheet to compare AFBDECOR's current desk and chair listings, then verify the specifications on the exact product page. If a dimension, material, adjustment or policy is unclear, use the AFBDECOR contact page before ordering. The goal is not to fill the room; it is to choose the smallest set of compatible pieces that supports the work.